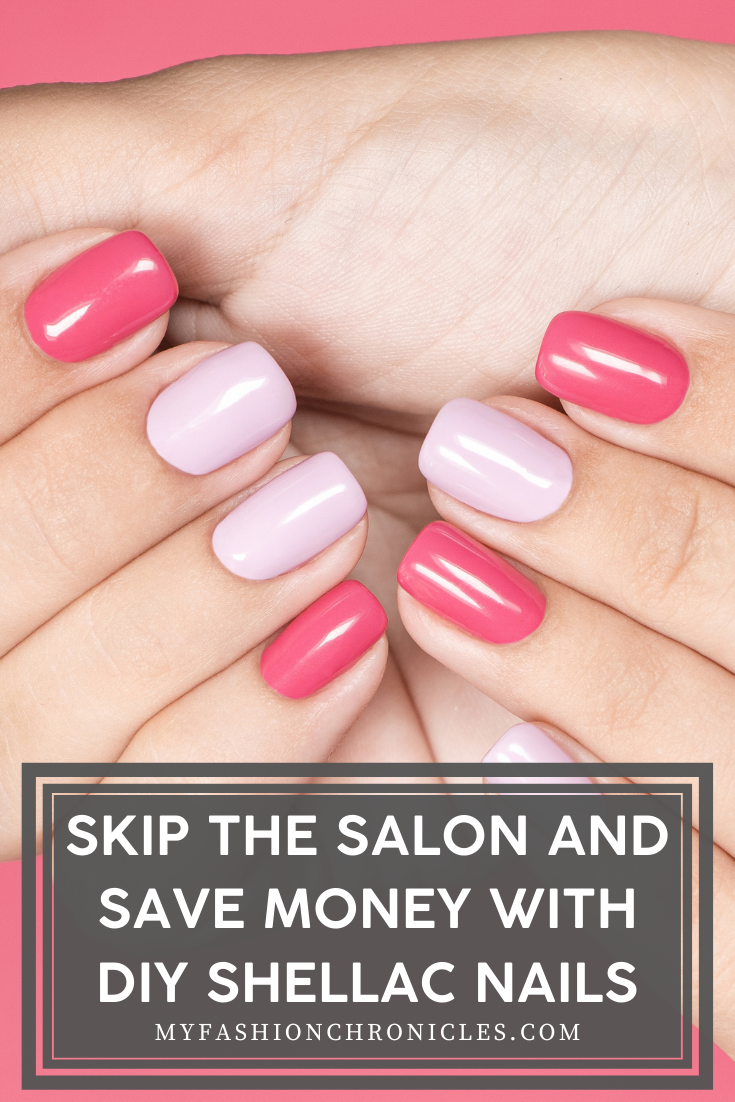
We all love to have our nails done! Having perfectly painted nails is what compliments our adorable attire. Though having our nails done looks amazing, sometimes the cost of a shellac manicure is not so great. So instead of spending money at the salon, I spent some time trying out different ways to get those perfect nails and this one has by far worked the best! If you want to have those die for nails that look great and are long lasting, try this idea for DIY Shellac nails!
What You Need:
– Sally Hansen ‘s No Chip Acrylic Top Coat
– Sally Hansen’s Powerful Acrylic Gel
– Nail Polish (I love using OPI Or Essie Polishes, they are the best)
DIY Shellac Nails
How To:
First things first, I always like to make sure that my nails are in tip-top shape before I apply anything on them. So cut them, file them, and make sure they are clean!
First you want to apply a single coat of Sally Hansen’s Powerful Acrylic Gel and let it dry completely. Then apply a coat of your favorite shade of nail polish (depending on the color you may need to do another coat). Let you nails dry, and once they are ready apply a single coat of Sally Hansen’s No Chip Acrylic Top Coat. The most important part is being patient and letting your nails dry, you don’t want to mess them up! Pretty easy, right? Keep scrolling for some totally cute color ideas, you’ll love them!
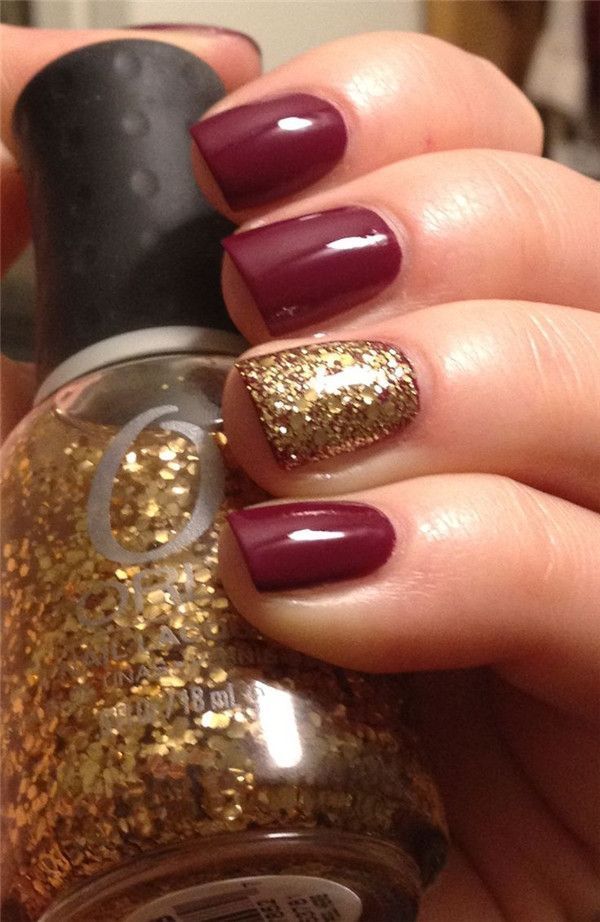
Accent Nail
This is all the rage this holiday season. Use festive colors, and highlight one nail especially! I love the contrast between the deep red and then the gold!
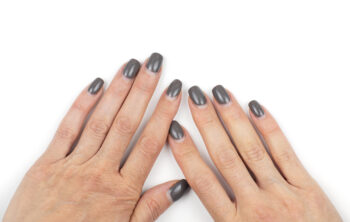
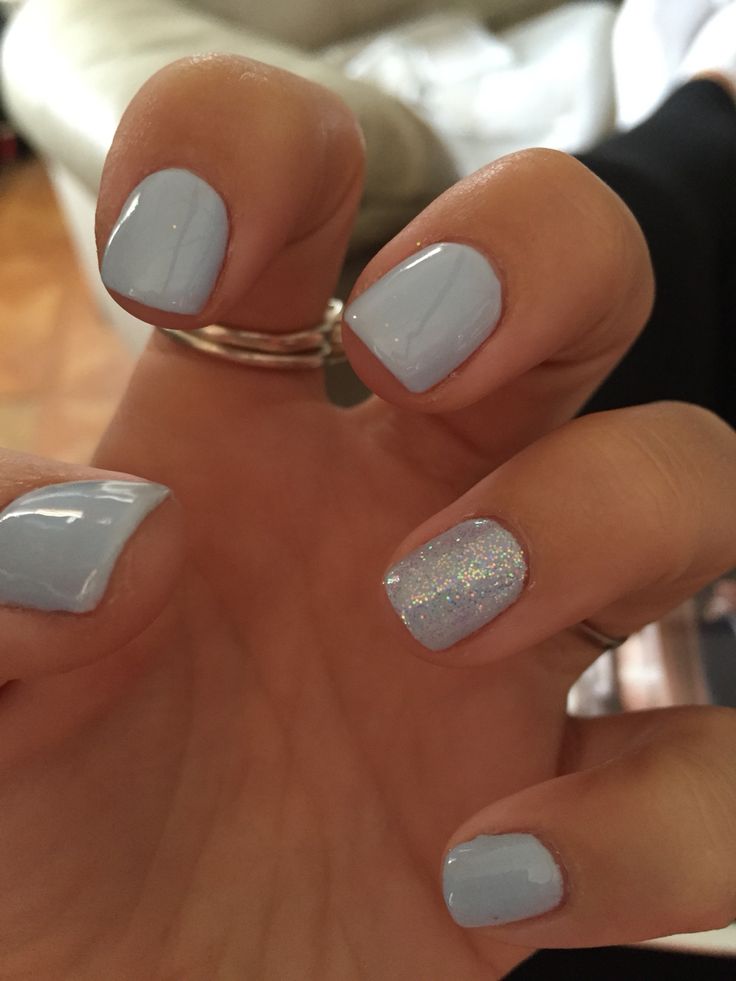
Grey
I absolutely love grey nail polish. It is perfect for winter, and it is so versatile. This color looks great with anything and everything!
Give it a try and let me know what you think. Keep reading for more beauty hacks.

Leave a Reply